Introduction to Git
This was edited by Lizz Rizzo (@lizz0id) and written for the Academy of Interactive Entertainment, but was ultimately left unused.
Understanding how to use version control systems (VCS) to manage your work is a key skill of any developer, whether you’re a hobbyist or professional. It can serve as a way to track what changes in your project (especially if you’re working with other people).
Depending on what software you use as your version control system, it can give you backups of your work as well. Losing your project could mean losing months or years of work that can result in major setbacks.

One of today’s most popular options is Git, a free and open-source DVCS available on every major operating system today. It’s small but scales well for software projects. You can synchronize changes between your Git repository and an online repository at places like GitHub or GitLab to share your work with other people or even just between your laptop and desktop.
While it’s important to understand how to use Git from the command line (like Windows’ Command Prompt), we’ll start off with GitHub Desktop just to keep things simple. You’ll learn all the same concepts without getting lost in the many pitfalls of command-line based systems.
Creating a GitHub Account #
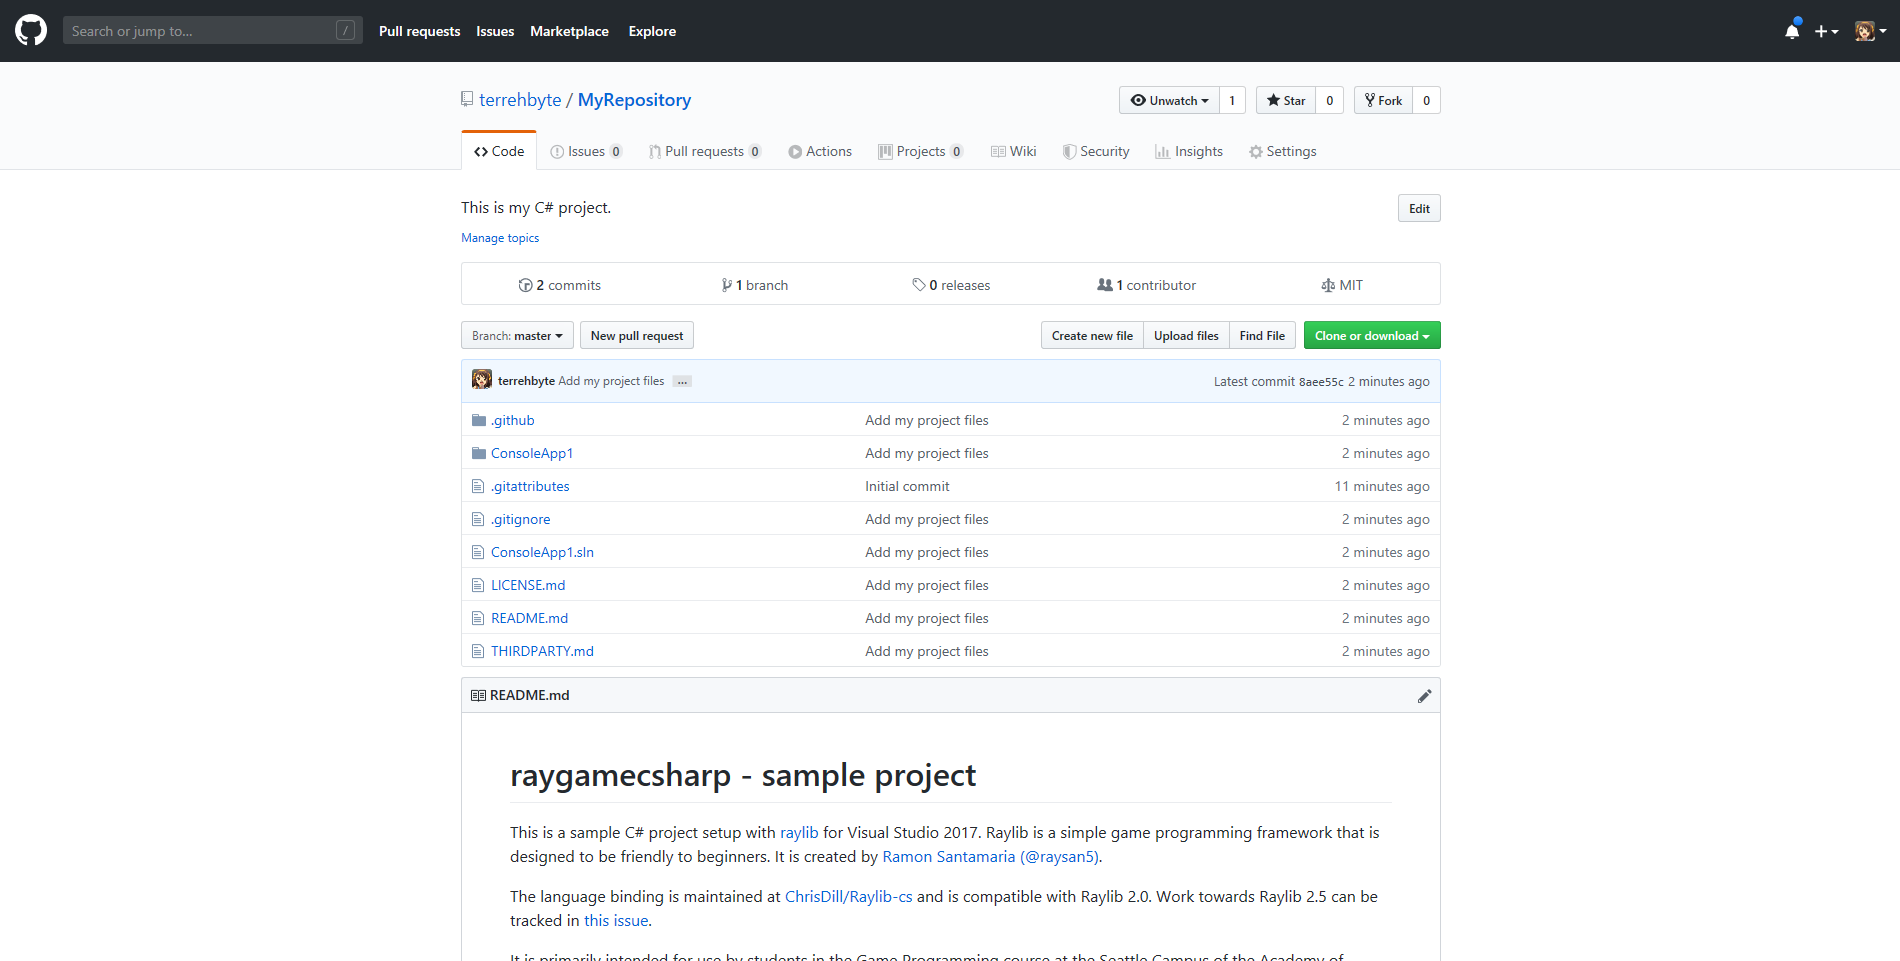
For this tutorial, we’ll be making use of GitHub as our repository host. When you save your changes with Git, it keeps a collection of changes called a “commit”. These changes, not the individual files, are what get synchronized between your computer and a service like GitHub.
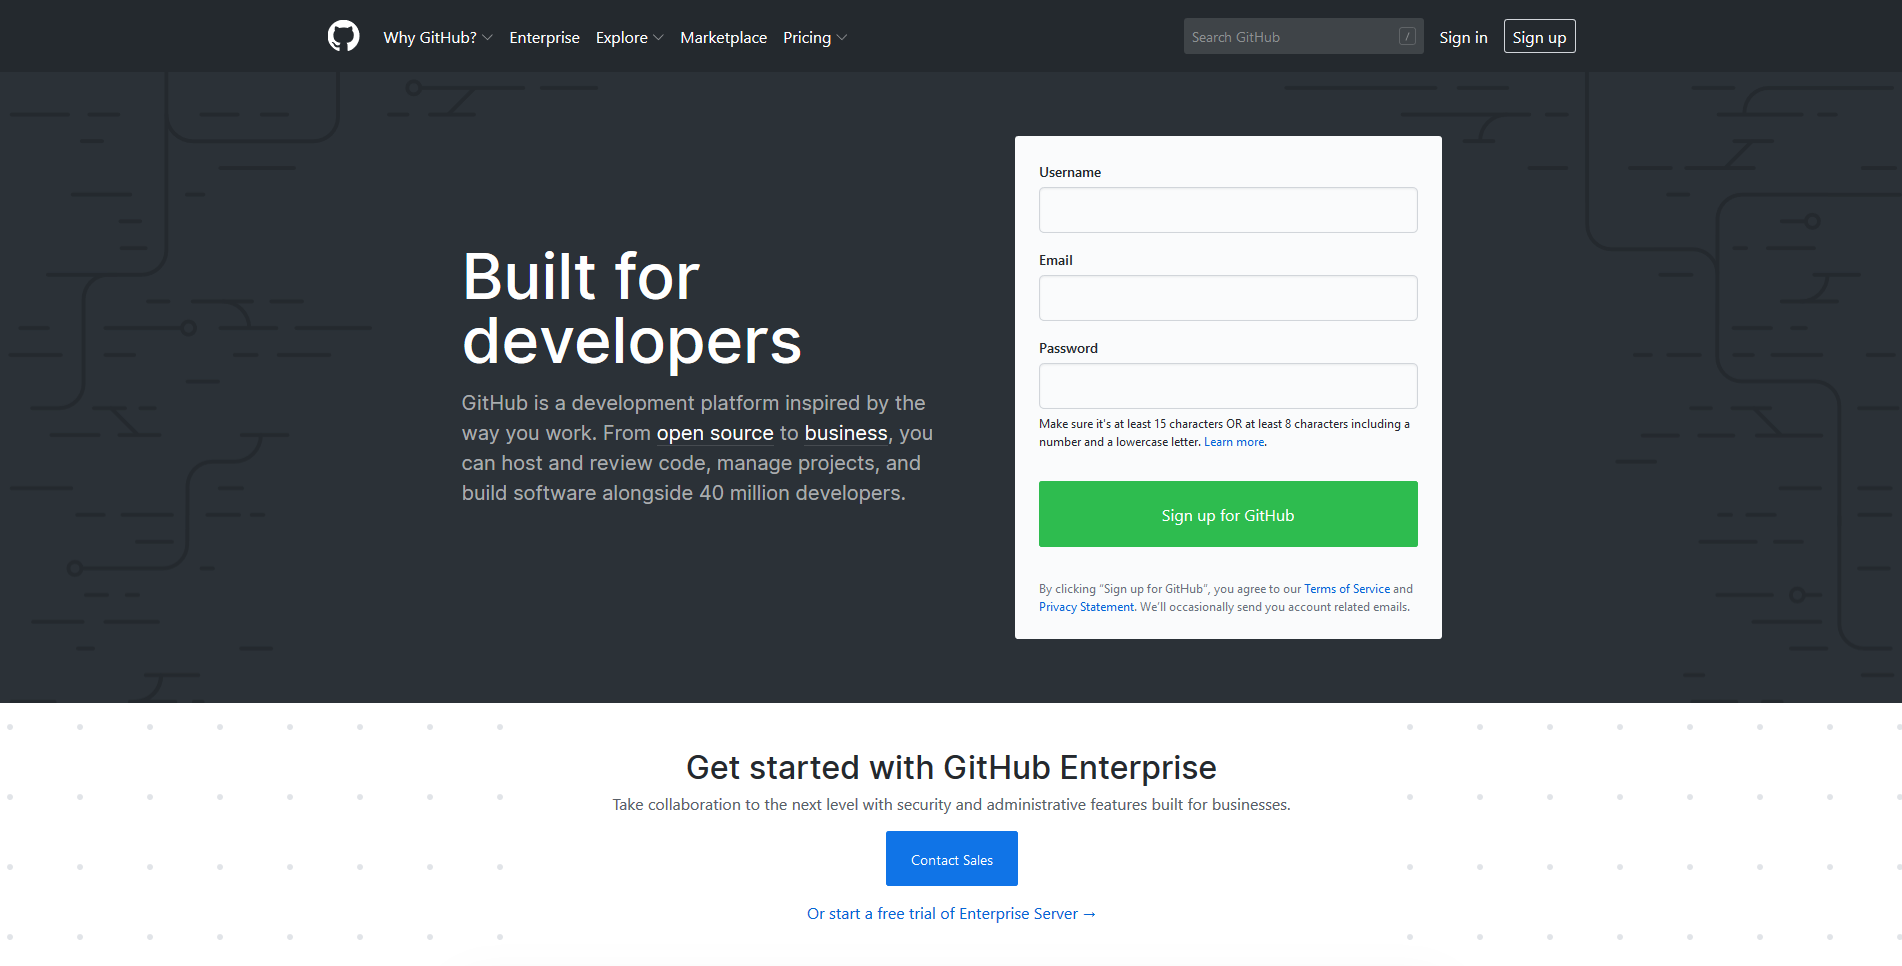
Go ahead and go to GitHub.com and create an account. You can keep your work public for the world to see or keep it private if you’re not quite ready to share it out yet. You can also use Git locally on your computer without uploading it to the Internet.
Installing Git #
Make your way over to desktop.github.com and install version of GitHub Desktop that works for your computer. It’s free and should take no more than a few minutes to download and install.
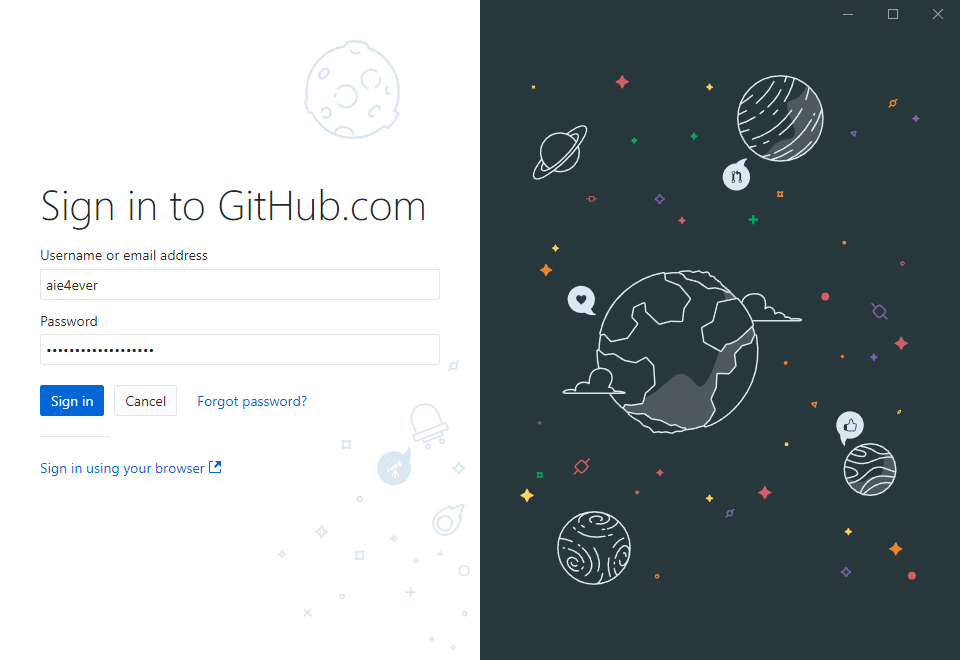
Enter your username and password when prompted to prove you’re really who you claim to be. It’ll ask you to confirm some basic details about who you are so it can give credit to the person saving the work to the project. This is helpful when you’re working with other people on a project; you’ll get to know who changed what in case you have any questions.
Setting Up a Git Repository #
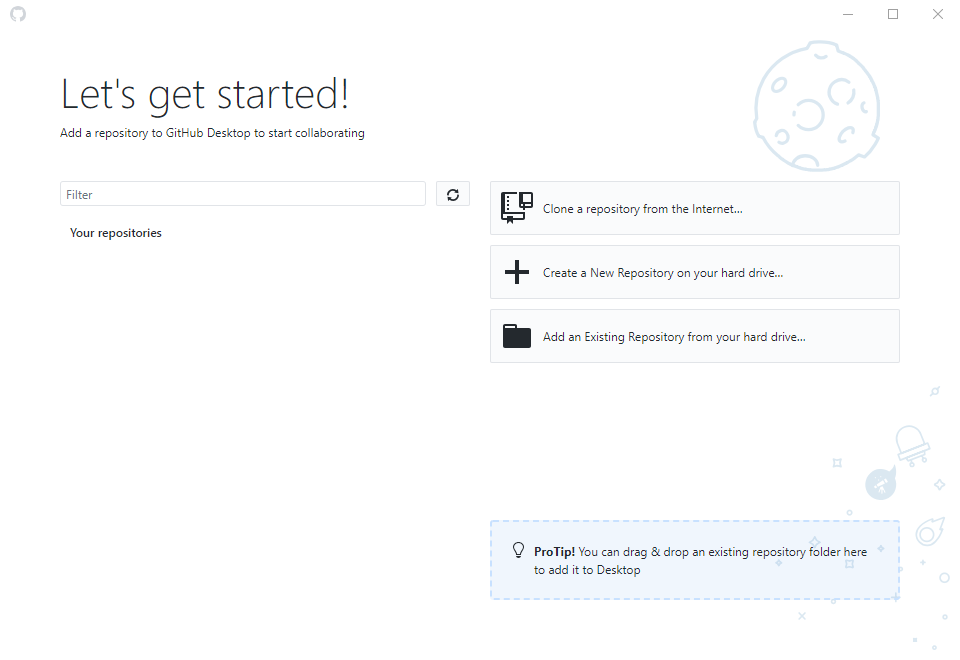
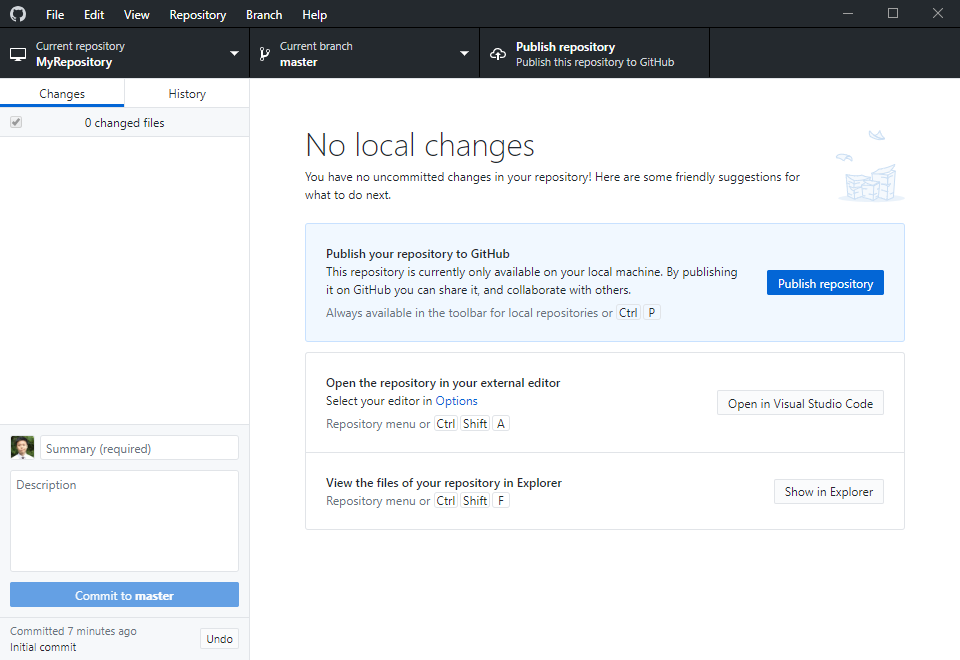
Once you’re in, you should be presented with a menu that shows all of your projects (you don’t have any yet) and a few options to add some. Since we’re new to this, we’ll select the options that reads “Create a New Repository on your hard drive…”. This will let us set up a new repository with our work and connect it to GitHub for synchronization.
Repositories are where all of our work gets stored. Each time we make a change, we need to make sure we commit those changes to the repository. You’ll likely make one for every new project you work on.
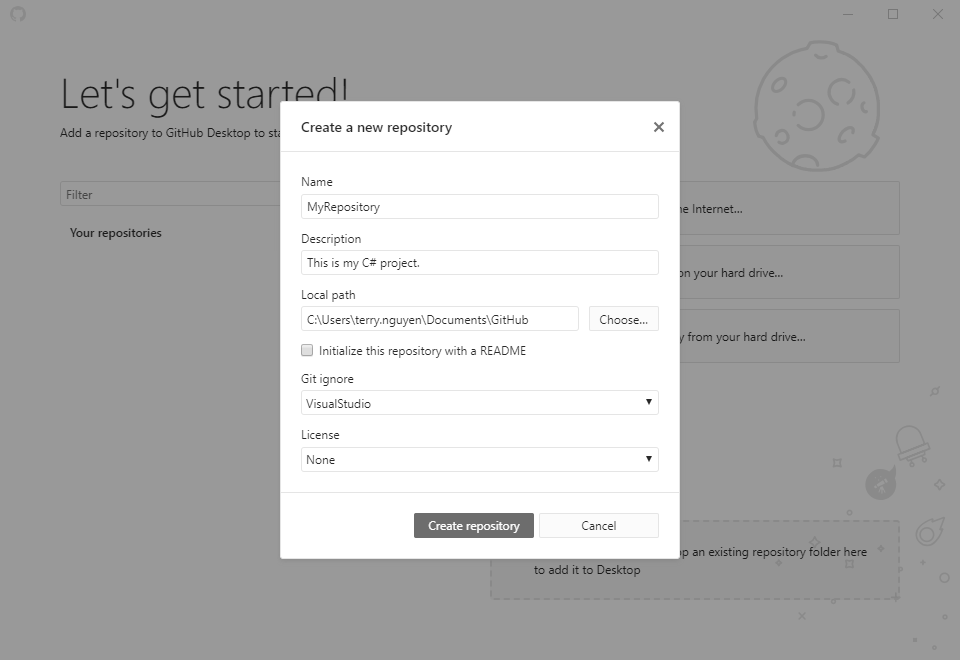
When you’re creating a new repository, you’ll be given a number of options. None of these are permanent, but they do affect your repository in different ways.
For starters, the “Name” and “Description” of the repository are always changeable. The “name” is used as a part of the URL for your project, but it doesn’t have to be unique. Your account just can’t have two projects with the same name. The description is often provided alongside it to give people a better idea of what that project is.
The local path refers to where the repository will exist on your computer. It will create a new folder inside of whatever path you select to house the contents of your repository. Your work will need to go in there for you to be able to track it using Git.
You can initialize it with a README file which will be display on GitHub when viewing your project. We can always do this later, so don’t check that box and move on to the next thing to worry about instead.
Git uses .gitignore files to determine which files should be considered for
inclusion in your repository. This is normally the bare minimum number of files
required to rebuild your project. For example, stuff that can get regenerated by
your tools should not be included in your repository. To make it easy, you can
select from one of the many templates that suit your project. I’ve selected
“Visual Studio” since that’s the tool I’m using to write this project.
Finally, selecting a license for your project is important if you’d like to have others benefit from your work. Licenses outline what people can do with your work. Permissive licenses like the MIT License generally allow people to reuse or modify your work as long as they credit you. Restrictive licenses may impose certain conditions, such as requiring that you share your changes or your entire project.
Once you’ve settled on the above options, click on “Create repository” and we’ll look at contributing your project into the repository.
Adding Your Work #
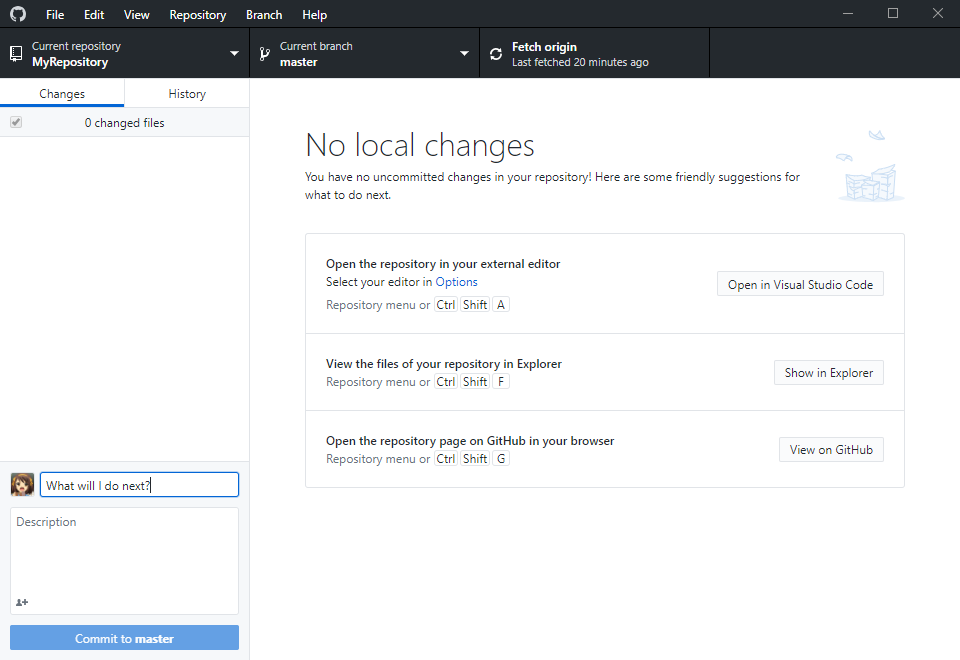
The repository view always shows you what changes are waiting to be committed. Changes can be anything from adding a new file, modifying a file, moving a file around, or outright deleting something. In any case, if you want your work to be saved to the repository, you need to commit them.
Commits are what actually get synchronized between your computer and GitHub. Git compares the changes on your computer vs. the changes that it knows about on the server. If that set of changes (referred to as the history) differs at all, then it knows what to transfer between the two systems. There’s nothing much at the moment, so let’s add our project.
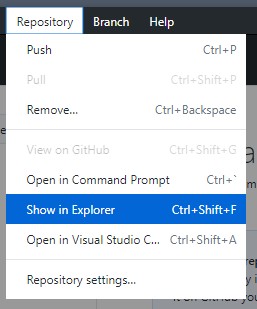
At the top, select “Repository” from the menu bar and select “Show in Explorer”. You might see something else if you’re working on OS X (Show in Finder) or Linux. The folder that it shows is the folder that your repository is looking for files from. You’ll need to work out of that folder from here on out, so move your project into it.
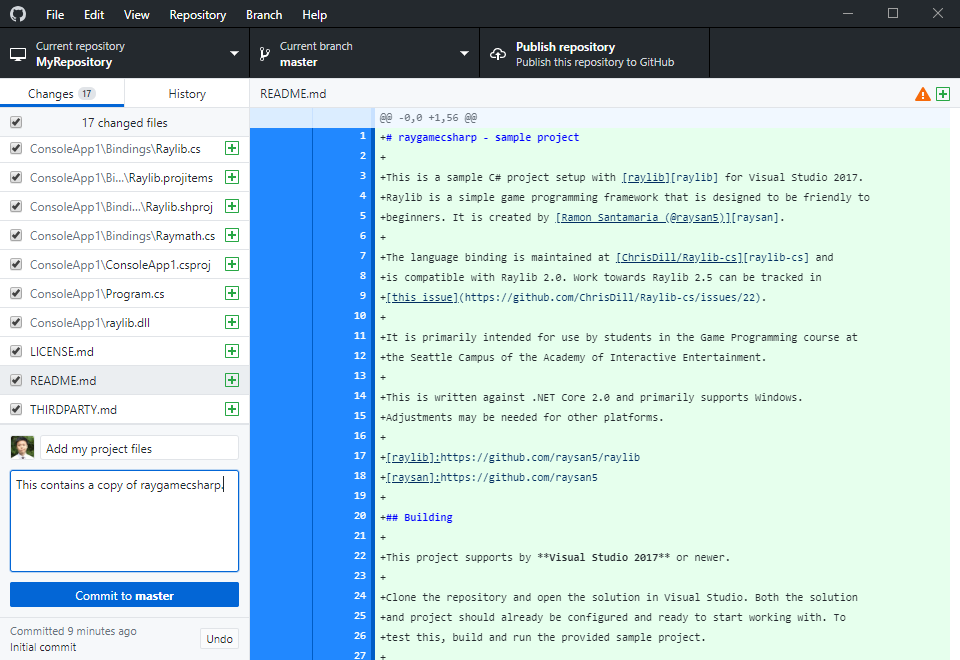
If we return to the GitHub client, you see that the left-hand sidebar is now populated with all of your changes. You can click on any one of the changes to see what’s different. Anything that Git thinks is new will be in green whereas all removals will be marked in red instead. Since we’re adding all of our files for the first time, everything should be in green.
In order to save these changes to the repository, we’ll need to commit these changes. In the bottom left, provide a summary of changes (usually no more than 60 characters or so) as well as a more detailed description if you’d like. Other people will be able to see this, so don’t write anything that’s supposed to be a secret. ;) Once you’re ready, hit that “Commit to master” button!
Your local repository now has two commits: the first was created when you
created the repository with a .gitignore file, whereas the second was just
created by you mere moments ago. The only thing left to do from here is to
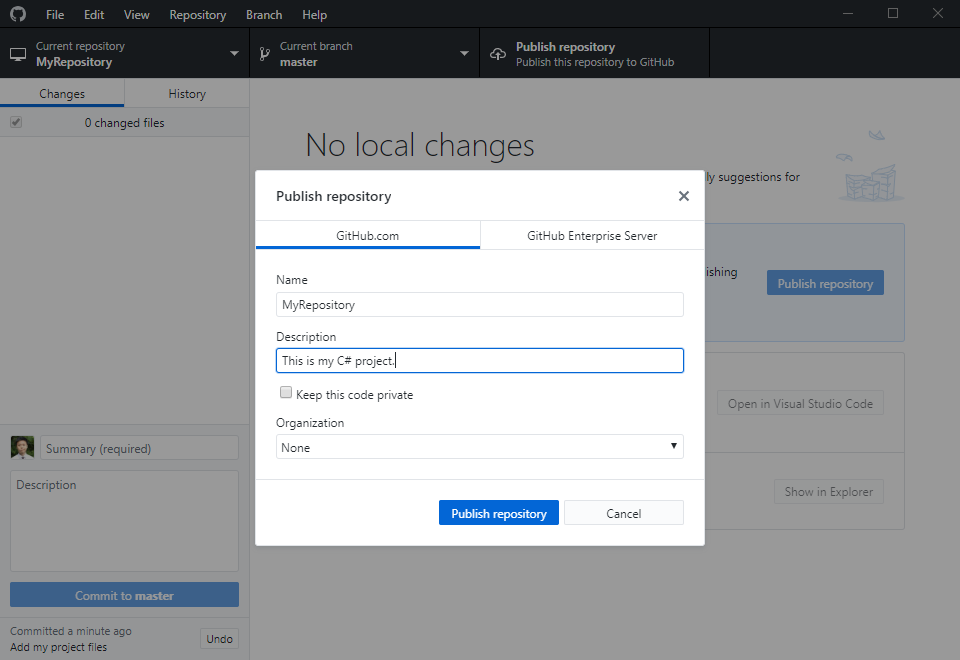
publish your repository to your GitHub account! Just hit the “Publish
repository” button, confirm the settings, and send it off.
Reviewing Your Work #
Once you’ve hit that publish button, GitHub Desktop should handle the rest of the work from there. It’ll look at your repository and push all of the work from your computer to the repository that exists on GitHub. If all goes well, you should be able to check your work by checking your GitHub page.
All of the files that you committed to your repository should also be available in the copy of the repository that exists on GitHub. If you’ve made it private, then only you can see it, otherwise, you’ve shared your work with the world.
To add new work in the future, you just have to repeat the same process as above:
- Make changes to your project.
- Open up GitHub Desktop and review the changes.
- If everything is good, commit the work.
The only thing that happens differently is that you don’t need to publish your repository, but instead, push your work to GitHub. Since your repository already exists on the server, all you need to do is tell it what’s new. Conversely, to retrieve work from the server, you would pull instead.
Everything we’ve presented thus far is just the beginning of what you can do with Git. While it might seem cumbersome to manually synchronize changes, all of these deliberate actions give you control over the process while giving Git the information it needs to help you. When working in a team situation, Git can look at the changes and determine how to merge work from two or more people into something that honors everyone’s contributions.
If you have any questions, you can always reach out to us! You can also review the documentation from GitHub on their tool to learn about new features or get additional information about any of the steps we’ve covered above.
Git Logo by Jason Long is licensed under the Creative Commons Attribution 3.0 Unported License.